Showing posts with label Homemade 'n Alterations. Show all posts

20 December 2010

Recycling Balloons


Recently I snagged some balloons from an office party my company held. I liked the bright colors, they kind of cheer up my day! As a week or so passed and the balloons started to deflate and were no longer serving their decorative purpose I wondered what I could do with them other than throw them in the trash. And then I came to me....Gift Wrap of course!
Which is perfect since I just about refuse to buy wrapping paper...and thus is a nice change from the usual newpaper wrapping I do.


I poked a small hole in the already mostly deflatted balloons and was left with this flat balloons.

I wasn't able to use the front of the balloons as they had the company logo on them, but the backs were still good. I cut the back away from the front and that was it used it as wrapping paper.

I still have a bunch of leftover pieces of balloons so I cut them into strips and plan to use them as embellishements on other gifts as well. I really liked the shiney effect of the balloon foil. It will really jazz up some of our presents!

02 November 2010

Tuesday Tutorial:

Embracing Embellishment...picture frame redecorating!

I recently found this frame on the Urban Outfitters website HERE and felt inspired to try and recreate it in my own way.
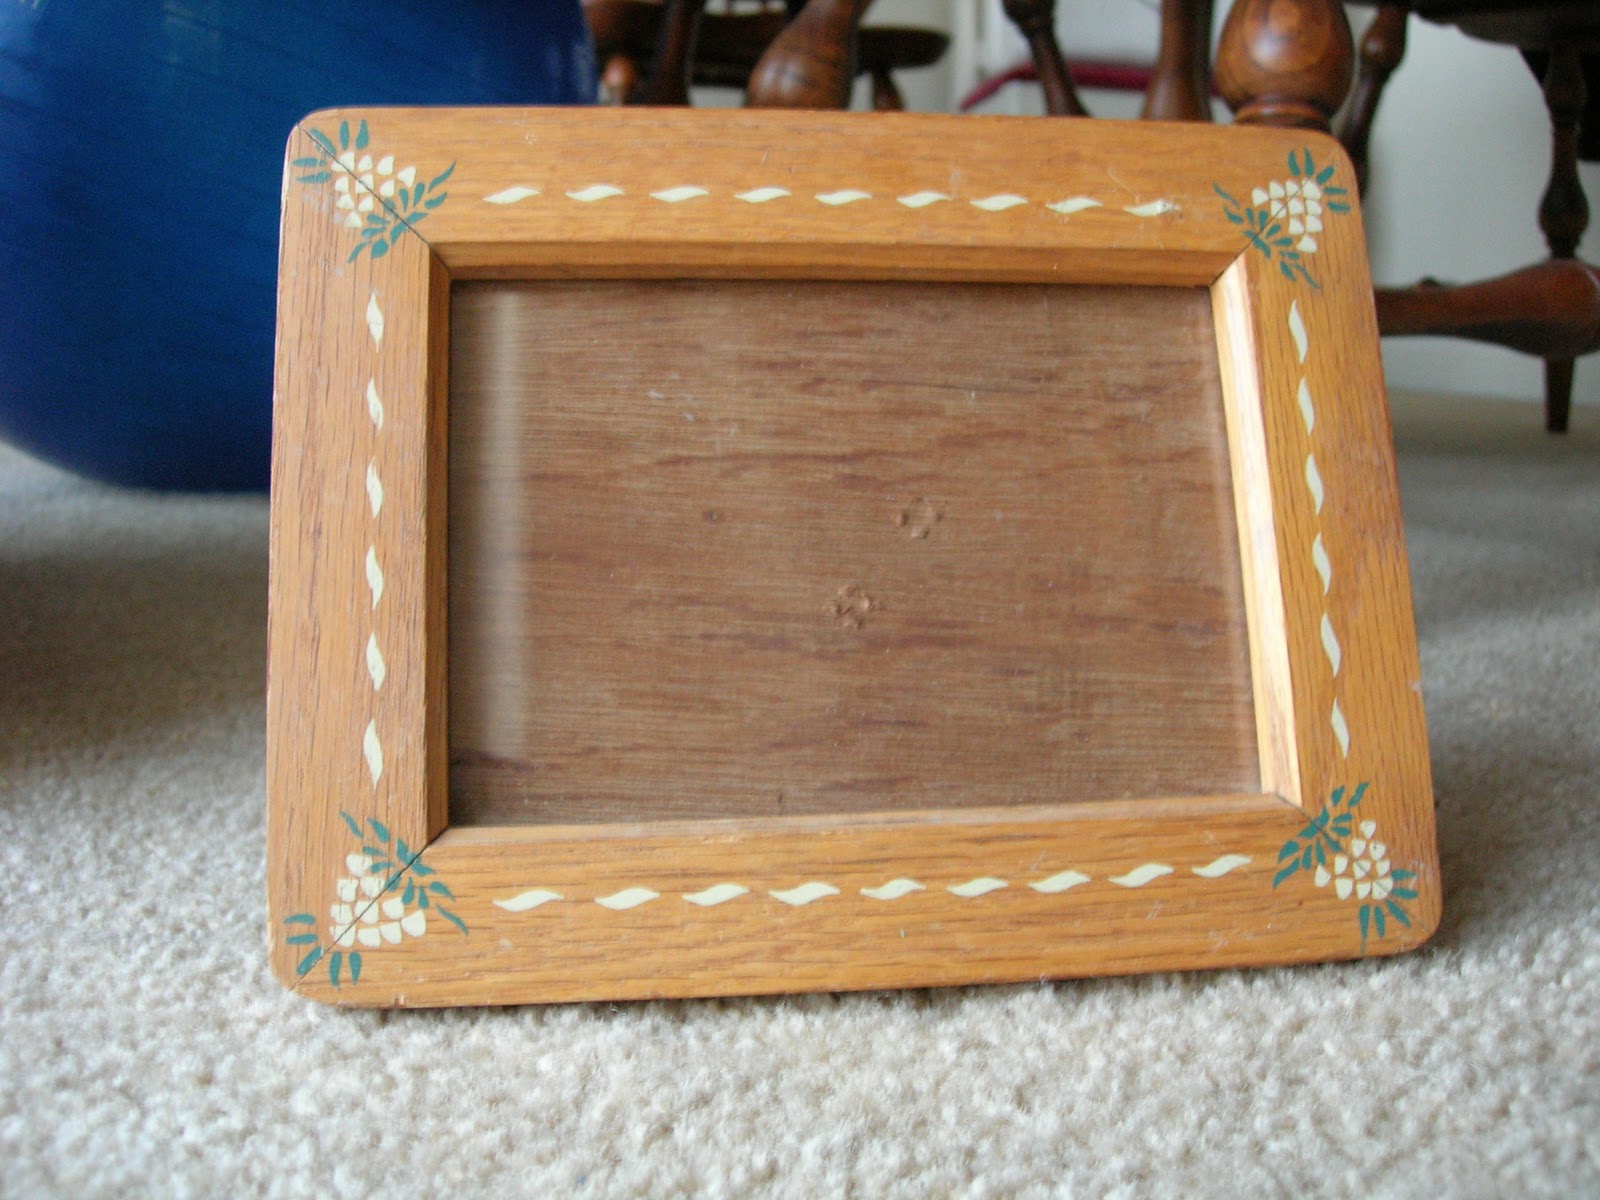
On Saturday I picked up this picture frame from a "FREE" box at a yard sale, but you could use any frame you have lying around or even grab one at the dollar store.


I found some embellishments in my stash of scrapbooking accessories and salvaged pieces. Simple embellishments can be found at any craft store and at many dollar stores as well, but to keep the cost down consider using anything you have lying around like bows, brooches, buttons, flowers!

Next I painted the whole piece black (to match many of my other frames) but you could use any color that suits your decor!


I used a sample jar of black paint that I had lying around, but I would suggest using spray paint to expedite the process and avoid having to worry about brush strokes!

Next I used a hot glue gun to attach the embellishments I decided to use.


Add photo and TA-DA easy peasy fancy photo frame re-do!


26 October 2010

Tuesday Tutorial:

Yearning for a new denim skirt...

I feel like a great denim skirt is a staple to any closet. With a classic cut and a casual fabric they can be dressed up or dressed down with little effort!

I already own a few: a mini from Zara (which I feel is really only appropriate for hanging out in with friends in the dead of summer because its just that mini!), a dark wash pencil skirt from GAP that I LOVE but is currently a size or two too big for me (but I refuse to get rid of it because it's so classic and I know it's only in my dreams that I will stay this size forever), and I lighter wash pencil skirt with a slit in the front that I'm not so thrilled with because I'm always feeling like I'm showing off a bit too much.

I have recently been eyeing up this denim number by CHLOE priced at $109 and available HERE.
Isn't it cute?! I have been on a bit of a feminine kick lately - I'm really into the ruffled bottom. What do you think?

So in order to fulfill my yearning for this beauty, yet save myself the $109 on the price tag, I decided to take an old pair of dark wash blue jeans that I LOVED (and wore all across Europe, but are now too short) and give them new life!

First things first - cut off the legs preserving the top and pockets:

Next I cut one of the legs into two long strips and attached this to the top:
Next I took the second leg and once I figured out that it was not wide enough to create the length I needed for the skirt, I turned a different route. Instead I cut the leg into multiple squares and sewed them together to make two longer strips.


Finally I attacted what was to be the flounce on the bottom of the skirt....unfortunately I didn't have quiet enough fabric to work with to give it the same ruffle look as the Chloe skirt, but I still think it turned out pretty well.


What do you think? Would you wear this? Leave your comments below!


04 October 2010

DIY Reusable Swiffer Cloths


If you are like me and love you swiffer but hate the price of refills - which never seem to go on sale for quite cheap enough - here is a great tutorial for do-it-yourself reusable cloths that only take a few minutes to make and can be washed, dryed and reused over and over again!

Sure beats the old tube sock I tried to pull over my swiffer the other day!

30 September 2010

Recycled Magazine Gift Bows

I definitely can't take credit for this idea. However, after my experiment with repurposing newspaper into gift bags I began to wonder about other ways to recycle paper. Specifically I had a great deal of magazines that had yet to make it into the recycling bin that I was hoping to reuse.


Can you tell I like girly magazines?
 After a bit of research I found some great articles on making bows out of magazines and tried my hand at it.

First I tore out colorful pages of the magazine that I liked.
I was feeling inspired by the pastels in this clinic ad and was also into the black and orange pages in spirit of Halloween. 

Next, I cut the pages into strips. I ended up with 8 strips per page, so 16 strips total.

The rest is mostly just a folding and manipulating game.
1.


Take the first strip and fold one end over to create a loop.


2.


 Follow the same step with the other end the strip creating almost a figure 8.


3.


 Add a second strip to the back. Always place the color you want to see on the finished product out or away from you.


4.


Fold each end of the second strip in the same manner as the first. Then add a third strip and repeat the same steps.


Once finished this process, I ended up with something that looked somewhat like a star...
I stapled my bow together at this point to make it easier to handle. Then, I repeated the entire process again, ultimately ending up with two stars.


I then took the second star I had created and simply sat it inside of the first star, matching the center points together.
I again stapled the bow together. Finally I added a small loop of paper in the center with tape to hide the staples.
My final project turned out like this...


I got a little bow happy after my first success and created quite a few of them! It really hardly took any time at all once I got the hang of handling the paper.

On some of the bows I added more than two layers of "stars". For fuller bows it is easy to just continue adding strips until the bow takes on the shape you want. I guess I have no excuse to buy bows this year come the holidays. I'm thinking that these will come in handy for the two upcoming weddings I have as well! 

23 September 2010

Repurposing Newspaper

As kids my brother and I used old newspaper as mats to keep craft projects contained. My parents used it to help get the fireplace going in the winter time before they switched to gas. I have used it as packing material on multiple moves and furthermore, I have been saving the comics section of the Sunday newspaper to use as gift wrap for as long as I can remember. I love how colorful the comics section is and it works for any occasion if you have the right color ribbon.

We always recycle our weekly newspapers (minus the comics section which I save) so it's not like its going into the trash exactly, but I was recently feeling that there must be a better use for it. I did some searching and soon became very inspired to use my old newspapers (and cereal boxes, which you'll soon see) as more than just wrapping paper. Instead I made gift bags!

Here's how I did it:

First, pick some newspaper with print that you like. I used some with flowers, produce and comics (which are still my favorite).
Next cut a large rectangle. Mine started out as approximately 25 x 17 inches. Also, I doubled mine making it two-ply for more stability.
Next fold down about 2inches from the top and 1 1/2inches in on the side.

After that measure the length of your paper minus the 1 1/2inch side fold. Mine was 23inches. Then divide into four sides. I wanted my bag to be more rectangular than square so I divided my sides into two 4 1/2inch sides and two 7 inch sides. I marked this on my paper in order to know where to make my next folds.

Fold on each of the measured points and then connect the two ends by gluing them together. Also fold the inside edge underneath the top fold (see pictures below).


At this point I folded my bag flat creating creases that will make it easier to fold and store later.

Next I decided how deep I wanted to bag to be and folded there. I then measured down 2 inches (this will be folded to create the bottom in a moment) and trimmed off the excess.
Then fold the bottom in like you would a present and glue into place.
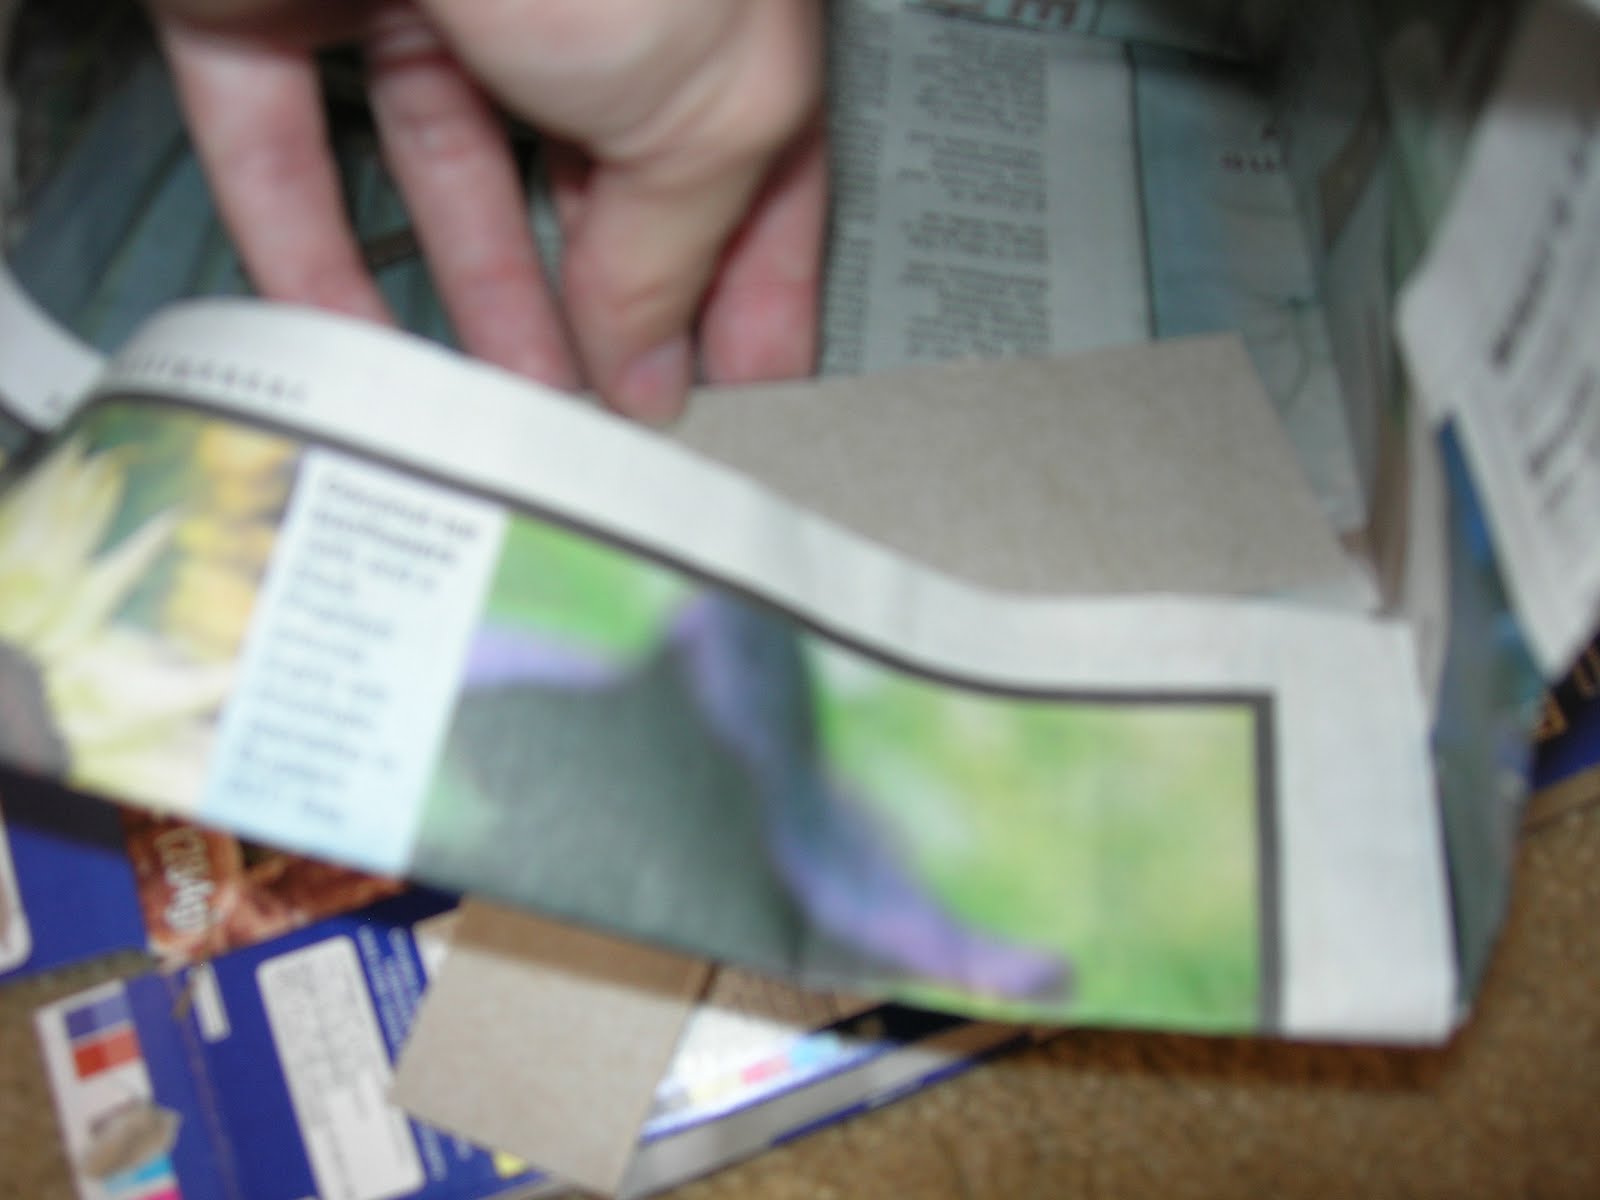
One of the last steps was to reinforce the bag slightly. I grabbed an empty cereal box and cut two 1 1/2 x 7 inch pieces. I slid these under the top fold on the long sides of the bag. I also cut another rectangle to reinforce the bottom of the bag.

Finally punch holes and add cord, ribbon or even shoelaces as handles. TA-DA! You've got a homemade, recycled, no cost gift bag!

20 September 2010

Testing Out My New Sewing Machine = Dress Alterations

One month ago I posted here about how I picked up a beautiful bridesmaid dress at one of my local thrift stores for only $15. It was really a steal because I late found that the dress originally retailed for $250! Although beautiful in it's original state, I had some other plans in mind for this dress!


The dress before any alterations.
For the most part this dress fit me pretty well. Which thankfully meant I didn't have to do any taking in. However, it was clearly a bridesmaid dress with it's extreme length, HUGE sash and mounds of excess fabric. So first things first, take off some length...


Then into the sewing machine it went to hem the new bottom....

Next was to get rid of the oversized sash....

One gone, one to go
I also needed to shrink the almost 4 inch waistband that looked very unbalanced after the dress lost so much length. 
Look at the size of that waist band!

Pleats basted in place

After some manipulating, pressing, manipulating again and many a pricked finger while hand stitching the pleats into place I finally finished. Paired with some pearls and these perfectly matched heels I found one week after I found the dress for only $5 at another thrift shop, this was my final product...


So, what do you think?!